- September 9, 2021
- Juliane Mazzarella
Work is underway on your renovation or construction of your new home.
Building has been going steadily for weeks, if not months now. So far the decisions you’ve had to make are not exactly the most impactful. I mean, who knew there were 100’s of choices when it comes to baseboards…and honestly, how exciting can that be?
Finally, the time has come to select your light fixtures. Yay! Something that actually leaves an impression on guests and visitors when you show off your new home. You have so many inspirational mood boards and rooms saved, this should be easy.
Until you really sit down and start having to make choices. You forgot about the top of the stairs and the walk-in closet. The light you fell in love with online for the dining room is $3000. That’s almost the entire lighting budget your contractor allowed for.
How much light are you going to need over the kitchen island? You’ve just opened the wall between the dining room and kitchen, do the lights have to be from the same collection? Can you have brass and chrome fixtures in the same house? Are you worried you’ll end up with that weird blue color when it comes time to buy light bulbs?
These questions are completely understandable and valid. There are a lot of considerations and concerns to be mindful of when choosing your lighting.
Your new lighting needs to function, coordinate and look great.
Lighting plays a strong role in how pleasurable and functional a room will be once your home is complete. As with any new endeavor, a roadmap is always helpful.
Whenever I am asked for a whole house or renovation lighting plan, these are the steps and considerations I use to create a wonderful and cohesive design for my clients.
1. Lay out your floorplans.
Create a list organized by floor then by room of the lights you need (be sure to include undercabinet lighting and wall sconces if you have them).
Make a note where applicable to remind yourself of ceiling heights, recessed lighting, if a room is open to another, or has any other special considerations.
It is always helpful to have this sort of note on hand as you make your selections. For wall sconces and bathroom vanity lights, be sure to note the height from the floor that the junction box is located.

2. Establish a total lighting budget.
A good price point to start with is about $120 per bulb. For example, a three-light bath bar would be around $360. A two-tier entry chandelier with 18 lights would be $2160.
This level of budget will be a step or two above builder grade. It also allows for splurges in feature areas (more on that later).
If you are looking at upgrading to American-made, natural finishes, leaded crystal, or any type of custom lighting, this number will need to be adjusted accordingly.
It is always important to consider the overall value of your home when determining your budget. Inexpensive lighting can bring the overall perceived value of your home down. Too expensive lighting will not provide a good return on your investment.
3. Determine the style of your home.
Is it a craftsman-style bungalow? Are you in new construction with a lot of tall ceilings and tons of natural light? Maybe, you’re in a 1980’s colonial and your rooms don’t have much architecture to work with.
No matter what your personal furnishings or décor style is, the overall bones of the house should be considered.
If your home exterior and layout are traditional, but your taste is contemporary, there’s only so far you can take a more modern aesthetic without creating a disconnect.
Think of this as dressing for your body type. I’m 5’4 and pear-shaped…you will never see me in white skinny jeans…doesn’t matter how much I love the look, I should never wear them. Ever.
4. Determine the style of your decor.
Glamorous? Coastal? Mid-Century? Traditional? Eclectic? Within these different styles, there are repeating shapes, materials, textures, and finishes.
As you make your selections, keep the overall look and feel in mind along with the style of the house.
When a light meets both requirements, you’ve found your fixture. And no, just because you have a stainless steel refrigerator does not mean your kitchen lights have to be brushed nickel.
The same goes for bathroom lighting and fixtures. You can mix and match finishes, just be sure it makes sense within the whole design.
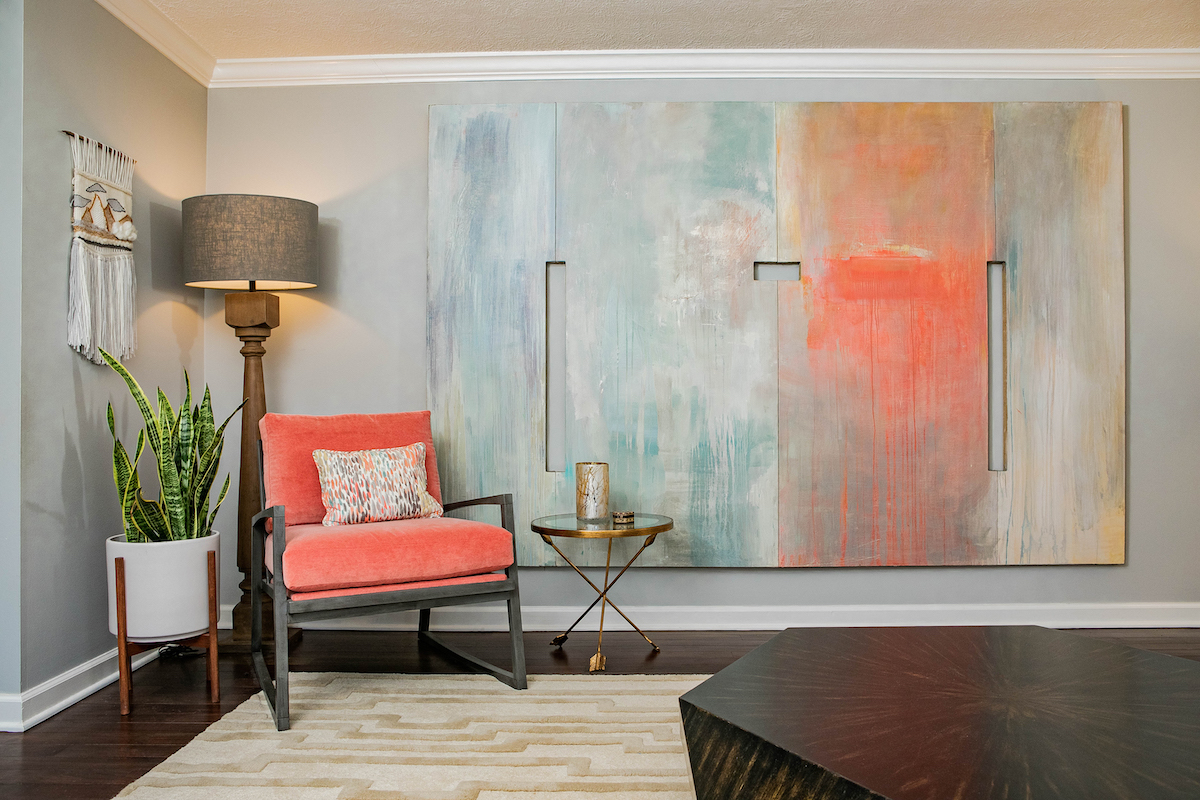
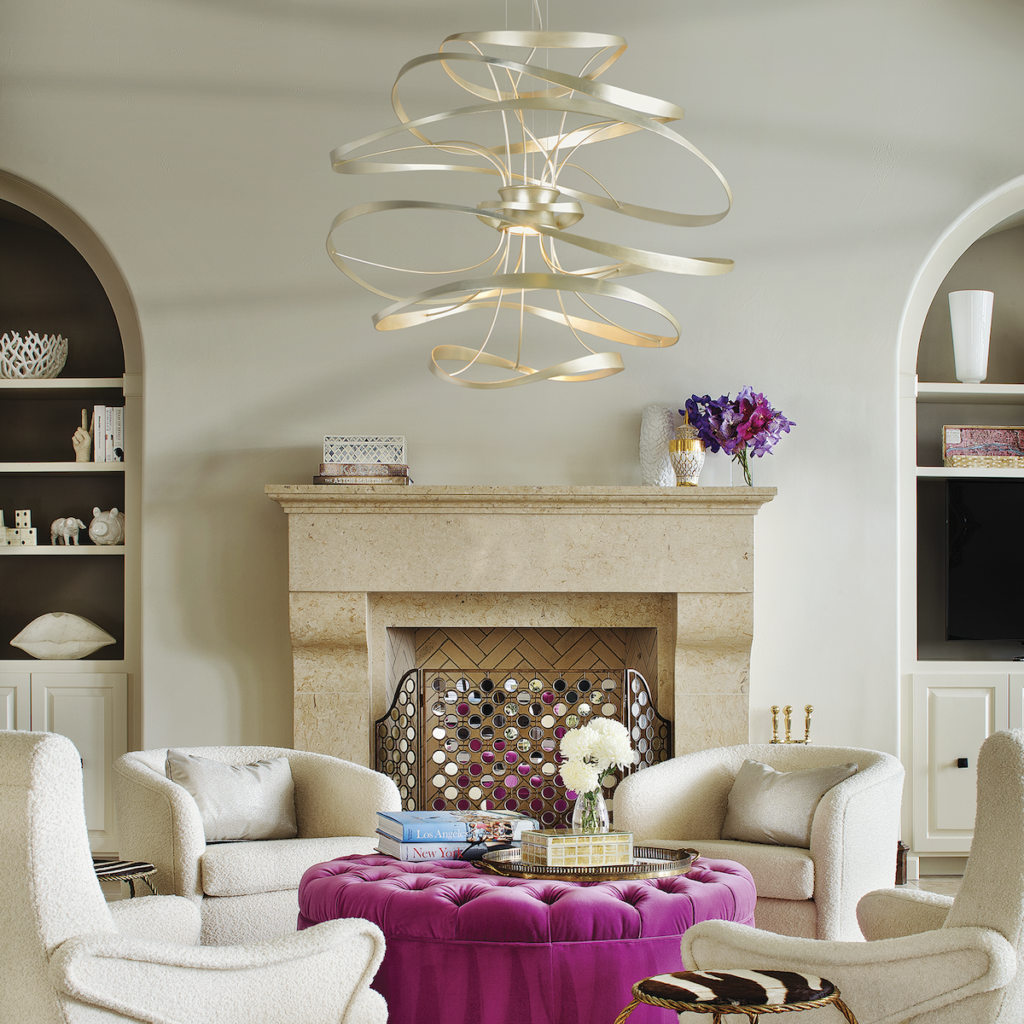
5. Decide which rooms will have the lighting as a focal point.
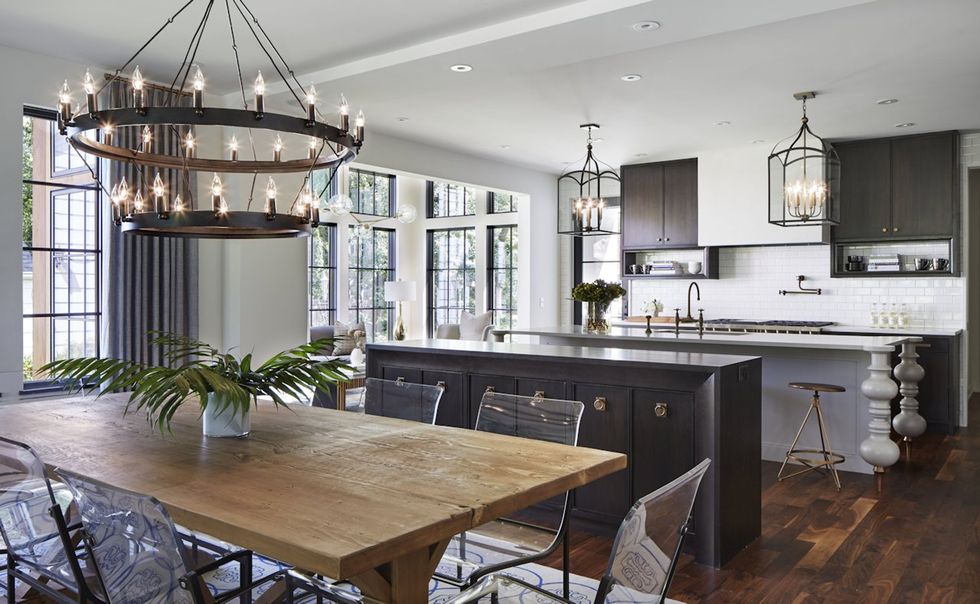
Some likely places to start are the dining room, entry, and kitchen island. Sometimes rules are meant to be broken, and there is always a place in design to flip these notions around.
How about a dramatic fixture in the center of the living room, above the coffee table? Or an unexpected chandelier in the walk-in closet? Especially in new construction, this is where you need to be careful.
Homeowners are so excited about being able to finally choose something in the house that begins to really show off their style, that they go for a feature light in every room.
If your island lights are a show-stopper, stick to something more straightforward over the kitchen table. The lights shouldn’t compete with one another.
If you know that the view out of your new set of French doors will be the focal point of the room, let the lights serve their purpose but stay in the background.
6. Begin your search.
Once you’ve found that first great light, the remaining focal point lighting selections are next. The remaining lights and budget will fall into place.
For rooms that are open to one another, the look and feel should stay consistent. However, the lights do not need to come from the same collection.
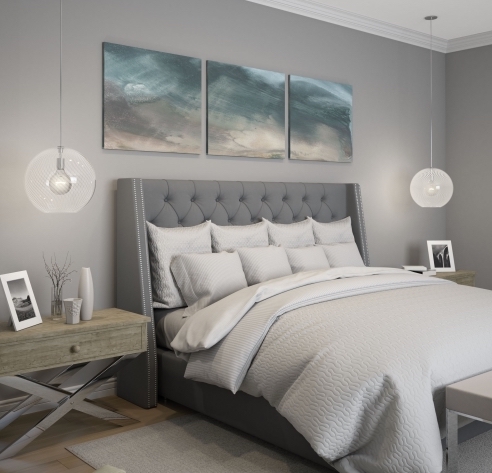
Bathrooms (except the master), closets, and hallways are easy areas to choose budget-friendly fixtures whose savings can then be applied to the more prominent and larger lights.
In areas where you may need stronger lighting for tasks, be sure to consider that when choosing a fixture. These areas, particularly kitchen islands, can benefit from recessed lighting. This way, you can focus on the look of the fixture while relying on the recessed and undercabinet lights to provide adequate task lighting.
7. Check stock and lead times.
There is nothing more annoying than finding the perfect light, basing an entire design around it, and then discovering it’s discontinued.
If online inventory shows any less than 10 left, be sure to call the company and verify the light is still available. Some websites update their inventory infrequently, and many play the nasty trick of never showing that a product is out of stock until after an order has been placed.
In today’s business climate, backorders can take months, and missing lighting can prevent you from getting your certificate of occupancy. Made-to-order lighting can take 4-12 weeks to be manufactured.
These extended lead times need to be considered so that everything is on-site for your electrician.
8. Inspect your boxes for any damages.
Be sure to have the boxes inspected for any damage, and ideally have them opened and checked for any broken glass.
If you need replacement shades, try to have them on hand before they’re installed. Prior to installation day, walk through the house and determine the installation height of any hanging fixtures.
Add this to your lighting list from step one and share the information with your contractor or electrician, it will save time and frustration for everyone.
9. Create a list of bulb types and quantities.
Letting your contractor or electrician buy your lightbulbs is like sending your mother-in-law out to get your son a haircut. No one wins.

It ensures that you have control over the color temperature, wattage, and style of the bulbs being installed in each light.
If you’re installing dimmer switches in any rooms, be sure to check that they’re compatible with your lightbulbs.
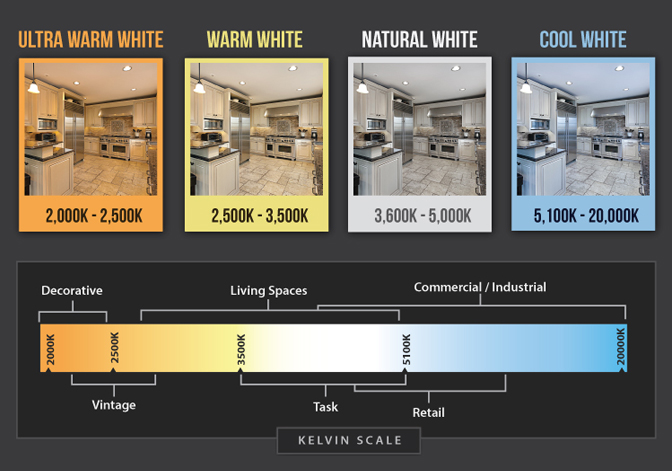
Choose a color temperature and be consistent from room to room. Warm white is closest to a traditional incandescent bulb, soft white is slightly whiter, and daylight is on the bluer side of the color spectrum. Edison-style bulbs are awesome to look at but make terrible task lights.
10. Safely store all the paperwork for your lighting.
The installation instructions for most light fixtures will include valuable replacement part information and model numbers should anything be broken, lost, or damaged.
If you sell your house in the future, handing off this information is very helpful to the new homeowners as well.
While this list may be daunting, there is additional help out there.
There are lighting specialists, and professional interior designers, like me, who have extensive education in lighting.
If taking this task on yourself still seems like too much, schedule a consultation for a lighting package designed just for you and your home.


Nicole Heymer
| 29 September 2021I truly wish I had this when I was planning my new build.